In preparation for the debut of the blue cardi last night at Tracie's graduation, I gave it a good long soak (a note about Malabrigo: this stuff bleeds color like nobody's business--using a good glug glug of white vinegar in the soak helps). Laid it out to dry, carefully smoothing out that dang rolly collar.
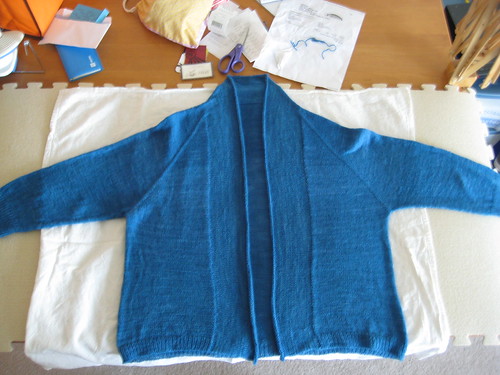
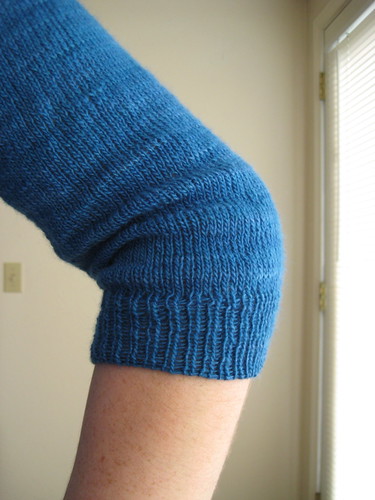
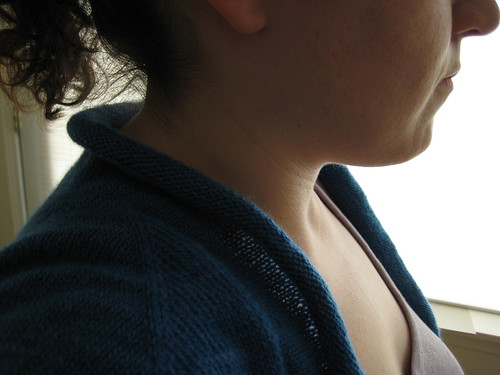
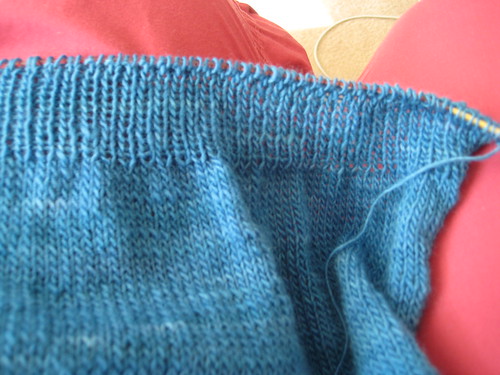
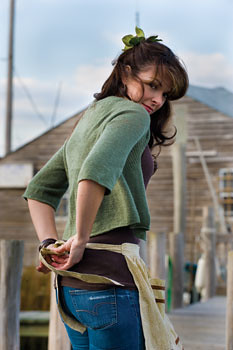
Now the collar is certainly less rolly than pre-soak, but it still rolls a little bit, nothing I can't handle. The cardigan's debut last night went well.
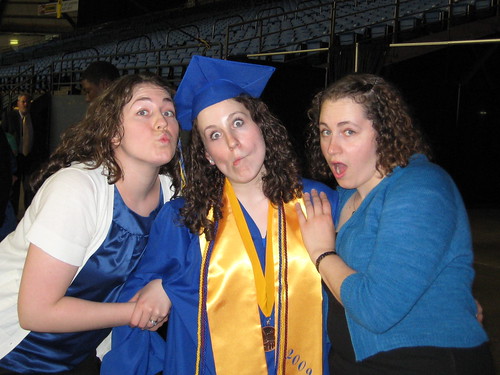
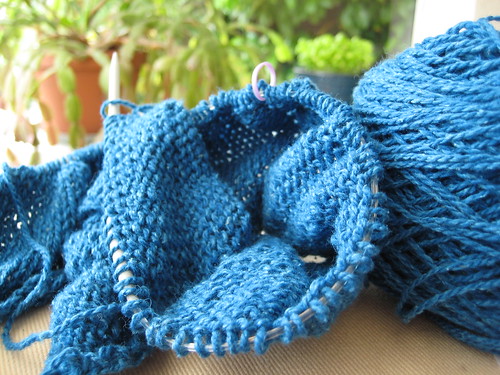
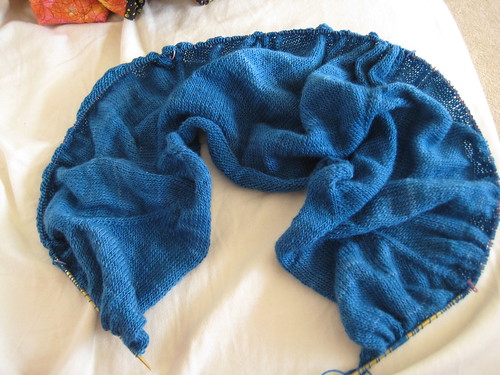
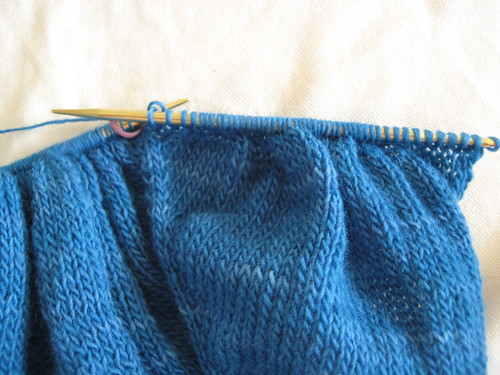
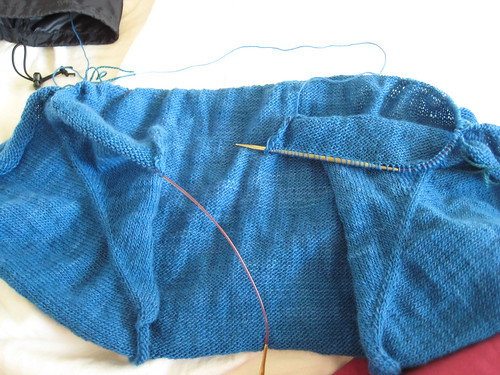
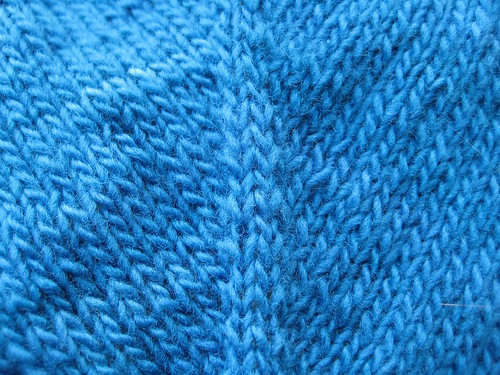
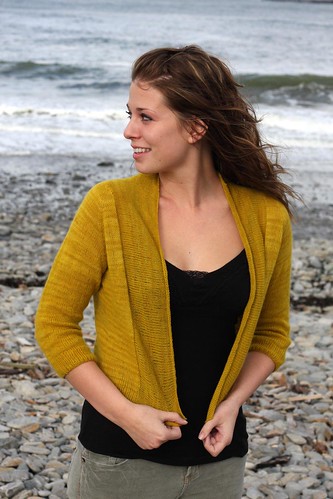
But I wish it had been a bit of a chillier night. Despite having the weight of a feather, this puppy is warm! And so soft! Like wearing a warm cloud. I used the 2+ hour ceremony to finish up a pair of not-yet-blogged-about-because-I've-been-too-lazy-to-take-a-picture-of-them socks for a certain recent grad. Now I've been splitting my knitting time between two new projects. First off, as I mentioned last time, I ordered some silky wool in pretty much the exact same blue color for a Buttercup, which is progressing along at a nice clip.
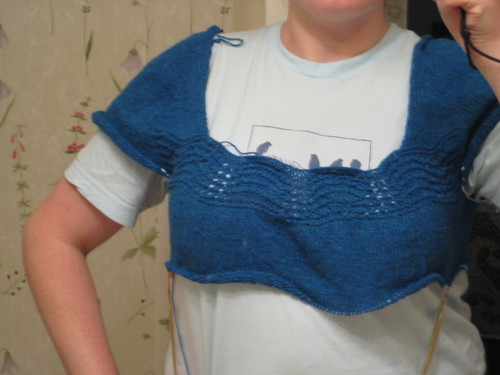
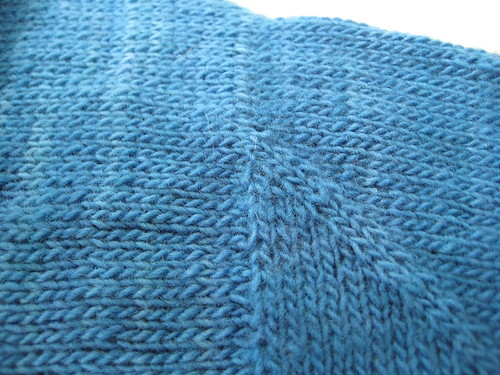
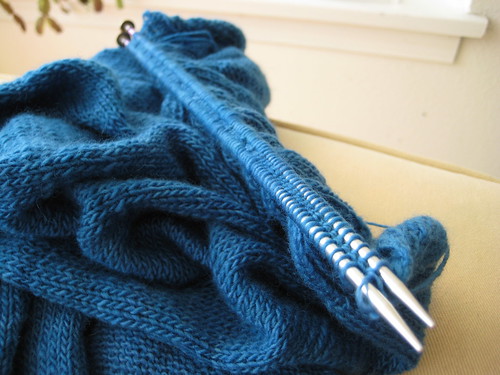
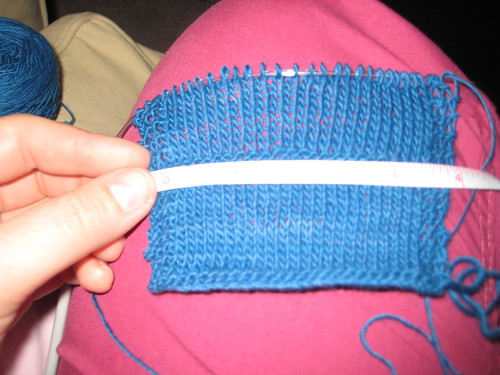
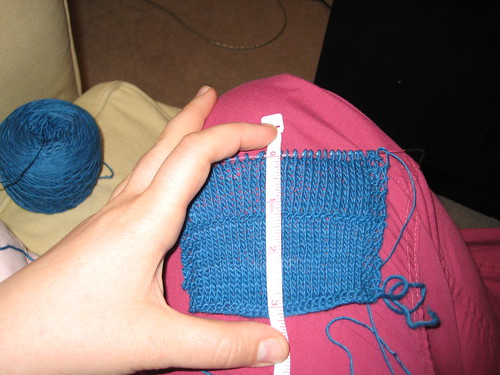
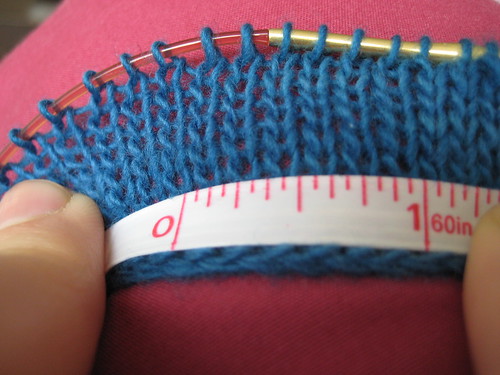
I love this yarn, the pattern is simple. I'm currently in the process of adding some shaping to the body of the sweater. The pattern calls for a-line shaping, but I felt like it might be a bit more flattering with a bit of waist shaping, so we'll see how that goes. It would be great to finish this up soon so that I could get some wear out of it this summer. Being as that the rest of the body is plain ol' stockinette (plus whatever waist shaping I do), it makes for good read-while-you-knit knitting. Which I appreciate, since I've been reading a good, entertaining book. Great summer read + great summer knitting = happy girl.
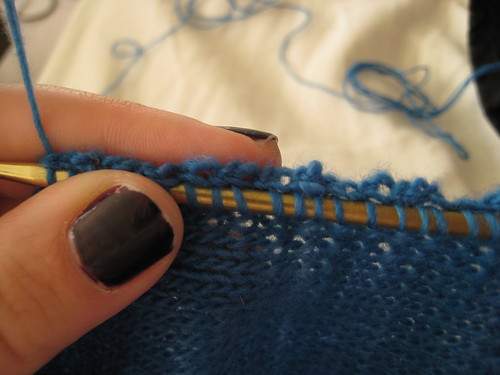
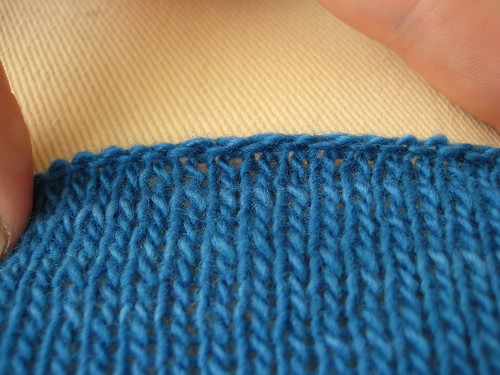
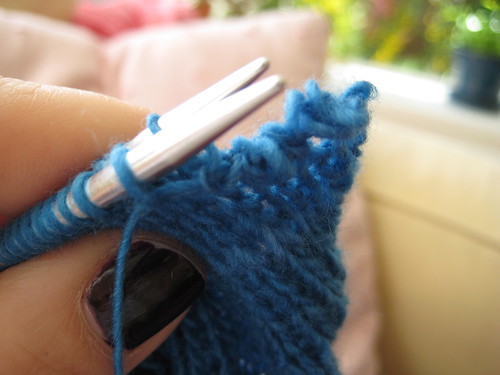
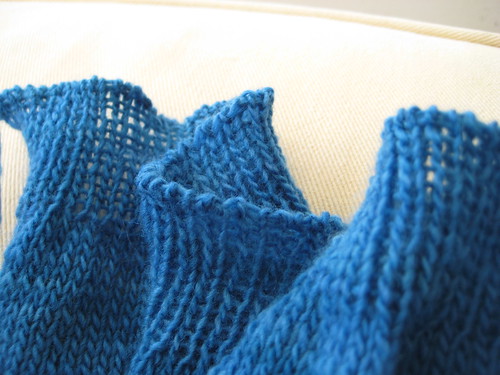
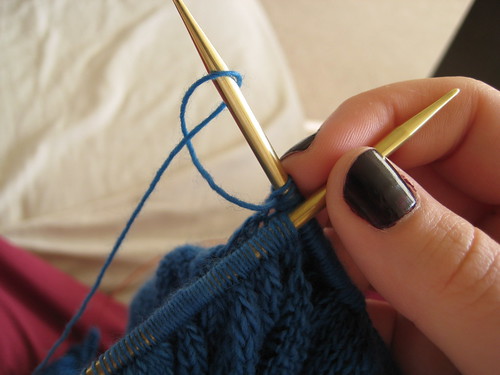
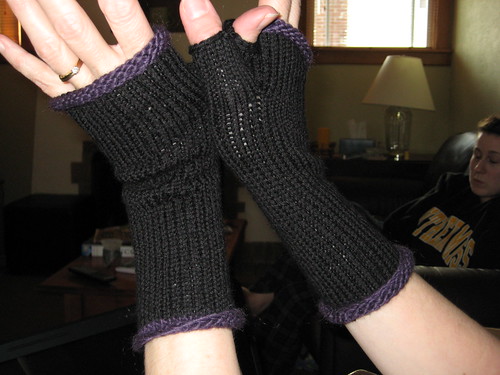
With the completion of those aforementioned socks, I had to start a new pair today. Eunice from Cookie A.'s new book, Sock Innovation.
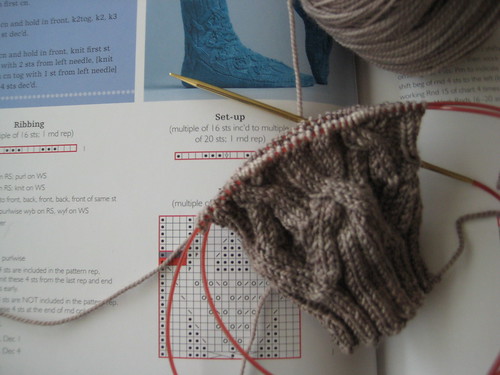
I'm not too sure about the gauge I've got going on with these socks, but I'm going to keep plugging along for a while more before I decide to commit to finishing or frogging them.
I (finally!) have a couple of job interviews this week. So, fingers crossed, I will have less knitting time soon. I love all the knitting time I've had over the past 3 months, but it would be nice to be employed again.
Showing posts with label lightweight cardigan KAL. Show all posts
Wednesday, June 10, 2009
Friday, June 5, 2009
Let's make something! Part 7--the sleeves
The steps of the blue cardi: the sleeves. I thought these would be done in a jiffy. But I was wrong. The first sleeve took quite a while. Then I started reading a good book, and the second sleeve flew by, and then poof! I was done!
I made a few changes to the sleeve. When reading the pattern, I was a bit thrown off by the number of decreases called for--decreasing only 12 stitches??? That's less than 2 inches. The top of the arm was a bit loose on me, and I wanted the sleeve to have a more fitted appearance. So I seriously stepped up the number of decreases.
I did paired decreases every 6th row. The result is a nice little line of decreases and a fitted sleeve. I wanted my sleeves to be 3/4 length, so I worked the stockinette section with decreases until they were just beyond my elbows, then did about 2 inches of 1x1 rib and the same sewn cast off I used for the body.
Another change I made was in how I picked up the stitches at the underarm. The pattern calls for picking up 2 stitches, which is the number you made when you removed the sleeves to work the body alone. But I've found that when I pick up the same number, I'm left with bit holes on either side of the underarm stitches. So instead, I picked up the 2 cast on stitches, plus one stitch on either side of the underarm (where those holes would be). Then on the next round, I knit the first picked up stitch together with the last stitch before the underarm, and the 4th picked up stitch together with the first stitch after the underarm--sorry, no photos of this. Once the sleeve is done, these picked up stitches are a bit loose.
But it's a sinch to go through and tighten them up (did you like that pun???) before weaving in the end.
Look, ma! No big holes in the arm pit! :)
I'm so happy to be done with this a week before my deadline (Tracie's graduation, 6/9). But I had some trouble getting a good finished object pic.
Hopefully I can get a better one next week at the big event. And I'm still a bit annoyed with the rolly collar.
Though I remain hopeful that it will relax a bit with a good soak.
I've already dug into my next project.
No, your eyes do not deceive you. It's pretty much the exact same color as the featherweight cardigan. I didn't do that on purpose, it was just too gorgeous of a color to pass up. More about this new project later!
Sunday, May 31, 2009
Let's make something! Part 6--the collar
I decided to knit the collar before the sleeves for this blue cardi. My reasons for doing this were fairly arbitrary, but if you're worried about running out of yarn (I'm not, but still), I would recommend doing this, that way you can use half of whatever remains for sleeve 1 and the other half for sleeve 2. The pattern instructs you to pick up 2 stitches for every 3 rows of knitting on the fronts, and 1 for 1 along the cast on edge at the top of the work.
I picked up the stitches, starting at the bottom of the right front, with the right side facing. I pick up my stitches between the edgemost stitch and the second edgemost stitch of the work, so that once the stitches have been picked up along the front, there's an entire column of (messy) edge stitches behind the row of picked up stitches
The way the stitches are picked up along the cast on edge, the collar appears to be continuous with the back of the sweater, which I like. This shows the collar along left front and sleeve:
Once you've picked up stitches ALL THE WAY around (this might take a while), you work back in forth in stockinette until desired width. I decided I wanted my collar to be about 4". I pondered how best to cast off quite a bit, and considered working a super small hemmed edge, but after a test swatch, decided against this method. In the end, I used a loose knitted cast off, worked on the wrong side but in knit stitches. I liked this better than the look of the knitted cast off worked on the right side.
Whatever cast off you choose, make sure it is super stretchy. It would suck to have a tight cast off on such a light an airy sweater. The collar is SUPER rolly, which is a little annoying, but I'll get over it. That's why I decided to go for 4", to compensate a bit for the mad rolling.
Next up, the sleeves!
Wednesday, May 27, 2009
Let's make something! Part 5--finishing the body
The knitting of the body of the featherweight cardi went surprisingly fast. It's all stockinette, but it still surprised me by the quickness. Yesterday morning I was half done, and last night--poof!--it was all done! I knit a full 10" of stockinette, as directed by the pattern, though I considered stopping at 9.5". If you're of shorter stature, you might want to do less than 10" of stockinette.
For the edge of the body, the pattern calls for 1x1 rib. I'm not always pleased with how my 1x1 rib looks, so I considered doing seed stitch for the edge, but in the end decided to give the ribbing a chance. And I like how it looks. The pattern recommends 2", but I stopped at 1.25". I didn't want a full 2" of ribbing at the bottom, but I wanted enough so that the bottom of the sweater doesn't curl up. Something else I considered was a folded hem, but in the end decided this might counteract the lightness of this sweater.
To cast off the 1x1 ribbing, I used what knittinghelp.com calls, the Knit-One-Purl-One Bind Off. Basically, you use kitchener stitch to graft the stitches together, as though the knit stitches were one piece and the purl stitches were another (like how you graft the toe of a sock). I find it easier to complete this bind off with the knits and purls on separate needles (though this is not necessary):
For the sewing, it's important to have lots of yarn--3x the width of your knitting (or more). Many times I've run out of yarn, then have to join in a new piece, and this is just annoying. So more is better. Plus, I want this cast off to be nice and stretchy, so I don't want to worry at all about yarn budgeting. While working this cast off, I like to keep it super loose. It looks messy, but it's easy to go through and clean/tighten things up a bit when it's done (or every few inches for a project with this many stitches).
The thing about this cast-off method: it takes FOREVER. The new Phoenix album and an entire episode of This American Life (#381 Turncoat). But I'm pleased with the result. It's nice and stretchy but still neat-looking. This cast off creates the same look you would get with a tubular cast-on if you worked the sweater from the bottom up.
I was super congested this morning (thanks, allergies) so I took some Sudafed, which is a wonder. But now I'm left with that jittery feeling, like I had too much caffeine, plus a weird foggy head. It's not pleasant.
Saturday, May 23, 2009
Let's make something! Part 4--dividing for the sleeves
Thanks mostly to the bus ride to and from the game, I managed to finish all the increase rows last night. Woo hoo! I was afraid this day would never come. Toward the end of the increase section, it was taking me 20 min/row--that's 20 focused minutes. Not gabbing with Tracie while sort of watching baseball (which would explain why I only finished 4 rows during the game). Now that I've taken the sleeves off, I'm knitting roughly 200 fewer stitches per row, so things should go a bit quicker.
But how did I take the sleeves off, you ask? This picture shows what the knitting looked like after the last row of the increase section (ended with a WS row).
If you look hard, you can see my 4 stitch markers--lower right, upper right, upper left, lower left. Contained within each pair (right sided pair, left sided pair) are the stitches that will become each sleeve. And now I finally get to put these stitches on hold to knit just the body. So, you knit along what will become the left front of the sweater until you get to the first stitch maker:
Remove the maker, then take a darning needle and some random yarn and thread the yarn through the stitches that were after the 1st stitch maker. Thread all the stitches on to the yarn until you get to the second stitch marker:
It would have been more illustrative if I'd chosen random scrap yarn that wasn't nearly the same color as my working yarn, but this stuff was right next to me, and you know, laziness wins. So you see all those stitches inbetween the 2 needle points--those are the stitches that will become the left sleeve, but for a while, they're going to chill on that piece of yarn. I like to tie the 2 ends of the scrap yarn into a little knot, just to be extra sure those sleeve stitches stay put (yeah, learned to do this after an unfortunate event). Now it's time to join the left front (stuff in the far right of the above picture) with the stitches that belong to the back (stuff in the far left of the above picture). The pattern calls for casting on 2 underarm stitches before knitting the stitches that belong to the back. To do this, I use the backward thumb method (does this have a more official name? I don't know), basically you make a little loop of yarn around your left thumb and slide it into the needle in your right hand:
(You like that nail polish? It's super dark raisin-y purple, almost black. Makes me very happy.) Pull this loop nice and tight, then knit the stitches that belong to the back (they used to be after the 2nd stitch marker). Repeat the above steps to put the stitches between the 3rd and 4th stitch makers on another piece of waste yarn, then knit the stitches that will become the right front. This is what it should look like:
The future left sleeve is exiting the frame on the left, and the future right sleeve is exiting the frame on the right. Now the pattern says to knit the body plain for 10 inches or until desired length. So it might be a while before I have more to say about this project. But I must say, being able to separate the sleeves made me feel like I'm making real progress with this--kind of renewed my knitting mojo with this project. Now I'm going to go try on what I have so far (one of the good things about knitting top down reglans)--I want to make sure I have a good number of stitches for the sleeves before I do a ton of knitting on the body then hate it and have to frog a whole bunch. I plan on being able to wear this to Tracie's graduation on 6/9--so I can't lose my mojo again.
Wednesday, May 20, 2009
Let's make something! Part 3--Increases
I said I would talk about increases, so let's do that now. Where the pattern says M1, I'm doing either a M1R or a M1L, which create right-slanting and left-slanting increases, respectively. I do M1R 1 stitch before the stitch marker that represents the raglan line, and M1L 1 stitchafter. The result:
An alternative to this method would to just pick up the bar between two stitches where it says M1 and knit this bar WITHOUT twisting. This would give more of an eyelet appearance, like you had made a super small yarn over on the previous row, which I considered, but decided to go with twisted paired increases instead. Info on increases.
Hopefully I'll ready to divide for the sleeves some day soon, and I'll talk about that next. :)
Monday, May 18, 2009
Let's make something! Part 2--The pesky issue of gauge
So, after I blabbed on about color choice for the featherweight cardigan, I went to the LYS and got some gorgeous blue yarn.

That's Malabrigo Merino Lace in Taureg, and goodness, it's gorgeous! And I think it will look good with my skin tone (as compared to a bright green). I finished up my Knitter's Mission with these simple wrist warmers
and set about starting this cardigan. And that's when I started butting my head against the wall we call gauge.
Oh, gauge. The bane of this knitter's existence. The pattern author got a gauge of 6 stitches and 9 rows per inch, on size 6 needles. Since I'm a loose knitter, I started my gauge swatch using a size 5 needle. And my gauge? 7 stitches and 10 rows per inch.
Grrrr! Since my 6 and 7 needles were in the other room, I went up size 8s and continued my gauge swatch. And with this needle, I got gauge. But the fabric looked awful--the top half of the gauge swatch.
So I went back to the 5s and swatched a bit more. Measured my gauge again and again, still 7 and 10 per inch. And decided that I would adapt the pattern to fit my gauge. So I did the math to change the numbers from a gauge of 6st/in to 7st/in. And I cast on.
I chose to use a cable cast on, my cast on method of choice. I like this cast on because it's quick and easy to work, doesn't involve 2 tails and is more sturdy than a simple knitted cast on. Worked back and forth, back and forth, back and forth. Sigh. And measured my gauge. 6st/in. Sigh.
Ugh. At this point, I could have continued knitting with my changed numbers of stitches--the beauty of top down reglan is that you can try it on as you go and stop increasing when it fits right. But instead, I chose to frog it, and start over, using size 5 needles and the numbers called for in the pattern.
Next time I'll talk a little bit about the increases used where it says M1 in this pattern. But for now, a pic of my new cat Butters when he discovered yarn.
Thursday, May 14, 2009
Let's make something! Part 1--Pattern and yarn choice
Chana and I are going to do a little 2-person knit along (or KAL) and I'm going to blog about it in intricate detail. The goal is to make a little light-weight sweater appropriate for summer. Our first plan was to make the Whisper cardigan from the summer 09 Interweave Knits.

This pattern uses lace weight yarn, which guarantees 2 things: it will be lightweight, and time-consuming. Based on finished pics on ravelry, this cardigan looks like it would be flattering for most people, and would work well as a little coverup to wear with a dress or tanktop for chilly summer nights (those might not exist in NYC, but they do here). But, then I saw this Featherweight cardigan on some else's blog.

Simpler construction than the Whisper, more basic design, but really pretty. Also knit from laceweight yarn--this pattern calls for Malabrigo Merino Lace, and you know we love us some Malabrigo around here! Malabrigo is a single ply lace weight, and the dying technique yields vibrant, slightly varied colors. The question of what color to use: I am drawn to making the cardigan out of something bright and lively--a bright light green, like this yarn

Though I think a light grayish color would be more versatile. And I'm not sure if the green would look on my skin tone.
The other issue with yarn choice is getting gauge (duh duh duhhhh!), something I'm a bit worried about. The pattern says the gauge should be 6st/in, and the author used size 6. Well, I'm getting more than 6st/in on the project I'm working on now--and it's with fingeringweight yarn on size 5 needles! So I'm not sure how I'm going to get the required gauge with laceweight yarn. Hmmm. There will definitely be some swatching--next post!
Subscribe to:
Posts (Atom)