Wednesday, May 25, 2011

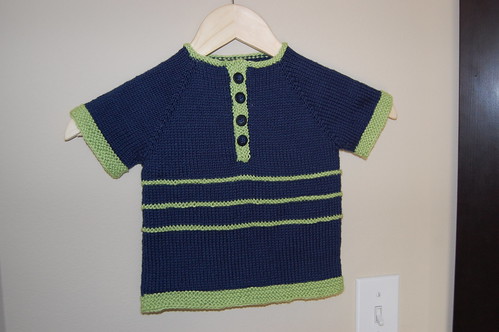
FO: Boy's Polo

 Boy's Polo

Pattern: Boy's Polo (rav link)
Yarn: Knit Picks Shine Sport
Needle: US 4 (US 3 for button band)

Another test-knit. Super quick and fun little sweater. I think this pattern will make a great palate for lots of different designs. I made the 18mo size as a 1st birthday gift and it seems to fit well, while still leaving a bit of room for growth.


Blocking with wires

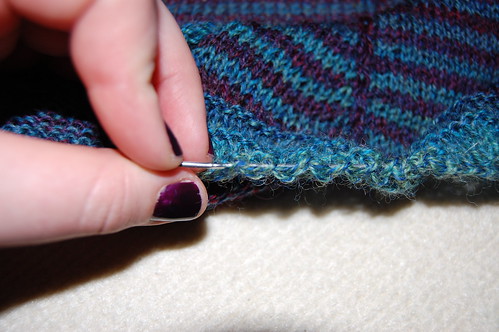
Just about the second that I got those floral strips off the floor of my craft room, I busted out the blocking supplies so I could fully finish my Daybreak Shawlette. For me, this includes my Knitters Block interlocking tiles, blocking wires and pins. After getting the shawl nice and wet, then rolling it in a towel to remove excess water, I ran the wires through the edges of the shawlette (not gonna' lie--this is really tedious). This pic is crappy, but I tried to capture what I was doing, basically weaving the wire through each stitch.

DSC_0458

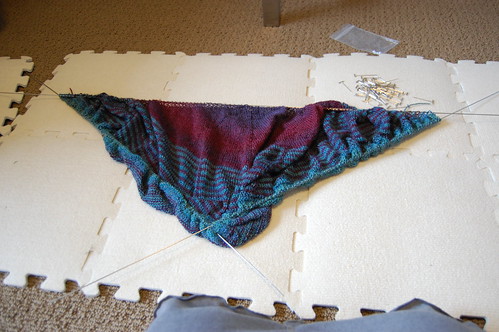
For this project, I used two wires for the lower edge of the shawl and two for the top.

DSC_0460

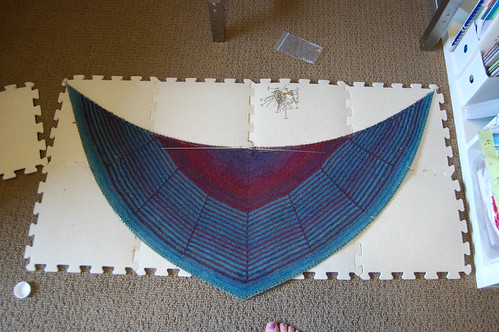
Then I gently pulled the wires out, making smooth arcs along the top and bottom. It only took a few pins to keep the wires in place. If this was a more severe blocking job, I would have had to use more pins, but I liked the size of the gently blocked shawl, so stuck with that.


DSC_0461

Patience, now. Tomorrow it should be dry and ready to come off the wires. I'll write more about this project later. I really love it.

Floral log cabin blocks

floral log cabin blocks

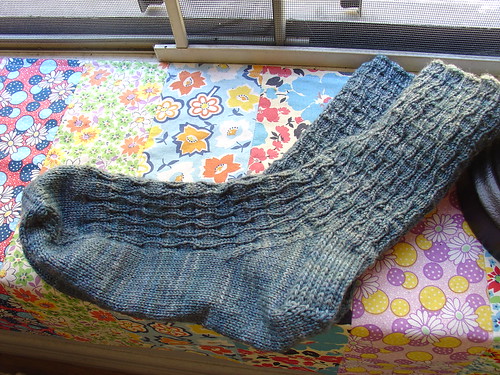
I'm pretty sure that this was my first foray into log cabin piecing. It was pretty fun. I re-used some fabric that I had initially sewn together into a little tablecloth for my window sill back in NYC, when I used to get dirty dirty dirt everywhere bc the air was so icky. So I could just throw this little tablecloth thing into the washer every so often, instead of scrubbing grimy dirt off my window sill. Oops--tangent! Anyway, you can see the original item in the background of this pic of socks:

Blue Fearless Fibers Socks

So, I pulled out my seam-ripper and got busy. Then I cut the strips into smaller strips, and 4 small squares. And a few hours later, I had those blocks--yea! I'm planning to make them into a small wall hanging for a friend's birthday that's coming up. The blocks all ended up slightly different sizes, so I'll do a bit of sashing between them--probably unbleached muslin...stay tuned!

The Circular Solution

Last time, I talked about my nifty DPN case. Today, I present my solution for the mess that was my circular needles.

DSC_0450

This 13-tab expandable file folder from Target ($6) works just great. I do like those hanging circular needle cases, and I thought about making one, but my cat would likely be too fascinated with all those dangling needles. And let's not forget, he has a taste Addi cables--RAR! I'm still annoyed about that.

DSC_0452

I've got all my needles in here, in their appropriate sections, sans the cases they each came in. And it folds up nicely to be tucked away into my shelf. :)

DSC_0456

Monday, May 16, 2011

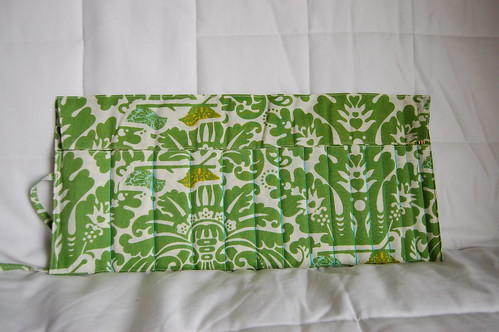
FO: DPN Case

DPN case

A couple months ago, I ordered a set of double pointed needles from ebay and since then, they've been a mess in a mug. Well, no longer!

DPN case

I whipped up this puppy today based on some cases I saw online. The fabric is from my stash (I used it to make a skirt a few years ago) so this project cost me $0--yea!

DPN case

The flap there keeps the needles from falling out when it's all rolled up. (I still need to rinse out the blue marker.)

Saturday, May 14, 2011

Today I like...

Dishrags

Thursday, May 12, 2011

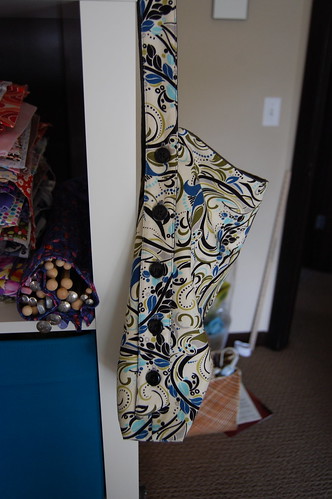
FO: Awesome Bag

Awesome bag

I spied this bag tutorial a couple days ago and knew instantly that I had to make one! A quick glance at my fabric stash and I had the fabrics--some quilters cotton that I bought last year for a house project that went awry and the remnant from some Ikea curtains that I had to trim down to fit our living room.

Awesome bag

I considered omitting the canvas lining called for in the pattern since the curtain fabric is about as heavy as canvas, but in the end I zipped over to JoAnns and got a bit of duck cloth (thankfully, 30% off) plus the buttons--navy for the gray side and black for the print.

Awesome bag

The sewing went quite quickly. And with my sweet Bernina, the buttonholes were a snap. But did I ever have a dickens of a time with the buttons! Jeepers, it took me struggling through 4 sets of buttons (you sew two on at a time) before I developed a system that involved a small bamboo double pointed needle. (Side note: I was amazed at how much the duck cloth softened up once I washed it. Also amazed at how much it shrunk--I barely had enough for the project.)

Sewing buttons

With the double pointed needle there, I didn't have to stress about having the buttons too tight on the fabric and now the strap's button holes fit easily over the buttons.

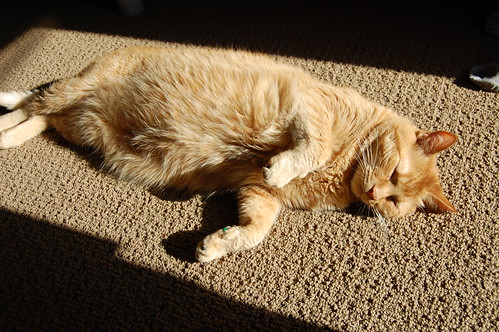
Yea for a new bag for spring! And yea for the sun which actually made an appearance today!

Sun Cat

Tuesday, May 3, 2011

Hand quilting tips

My quilting mentor (hehe) reminded me that I would be remiss if I didn't pass along a couple time-saving tips.

In traditional patchwork quilts, you often quilt along in a straight line for quite a while and will likely need to add a new piece of thread before you reach the end of your line. In this project, I'm in the reverse situation: quilting many short segments that would require knotting off my thread and restarting the same piece at another location. Well, I have two time-saving tips for this very situation.

1. Whenever possible, run the thread through the inside of the quilt from one line of quilting to another. You see here I've reached a break in the dashed line I've been quilting:
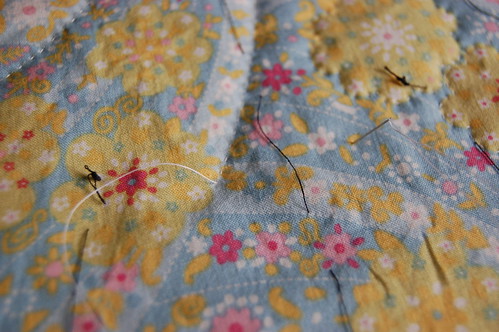
Hand quilting tips

What I'm going to do is insert the needle through the top layer of fabric, making sure not to pierce the backing, then poke it back up where I want to continue quilting. The result:
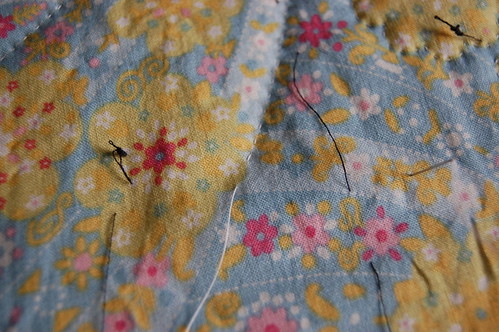
Hand quilting tips

Another example. I've been working my way around the green flower on the right and I come to a point that's near another green flower.
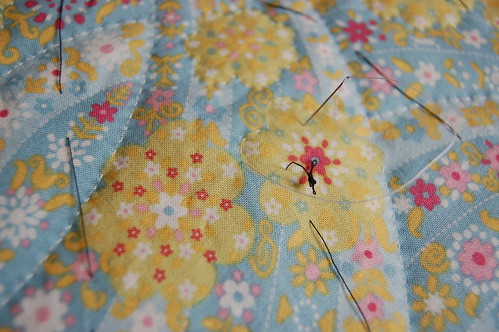
Hand quilting tips

So I insert the needle on the border of the right flower and poke it up on the border of the left flower:
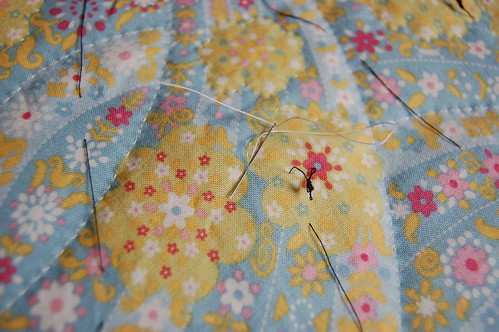
Hand quilting tips

I quilting all the way around the flower on the left then it's time to resume quilting the right flower.
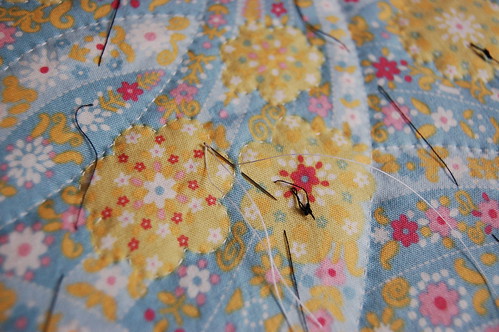
Hand quilting tips

Since I take care to make sure each line of quilted stitches remains lined up appropriately, no one will ever be able to tell that I took a little detour from one flower to quilt another. I try to use this method of going from one line of quilting to another in any situation where the two quilting lines are close enough to be reached by my short little quilting needle (so, about less than 1" apart, or so).

2. When tip #1 isn't going to work for you and you must break your thread to move another location, you can save a bit by tying the knot for your new location before cutting the thread.
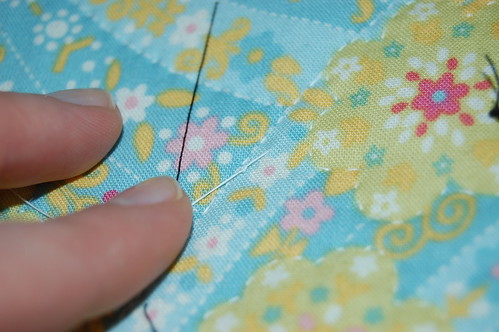
Hand quilting tips

In more detail: You come to the end of your line of quilting. Tie a knot and bury it inside the quilt (similar to when you start a line of quilting, always hide the knot in the middle of the quilt sandwich). Once you've pulled your thread back up, make a little knot near the surface of the quilt (about less 1/8-1/4" away), then clip the thread at the surface of the quilt.

Hope these tips are helpful. Also, in case this is in fact your first experience hand-quilting, don't be surprised if your right thumb and left middle finger (or whichever finger you're using underneath the quilt to guide the needle) are a tad bit sore. All those tiny needle pricks will develop into a kind of callus. And if you happen to prick yourself deep enough to bleed (been there!), saliva will get blood out of fabric (don't worry, you'll have a chance to wash all your spit out of the quilt when we're all done here). Cheers!