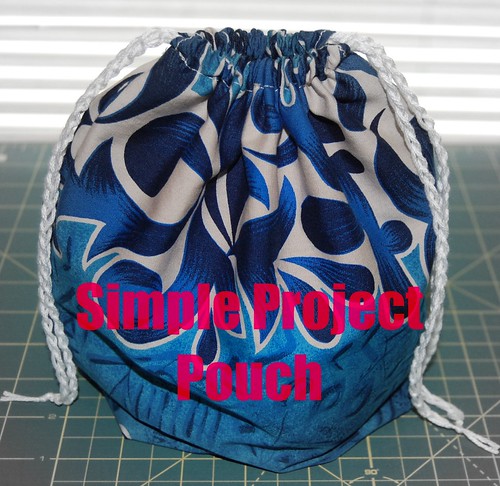
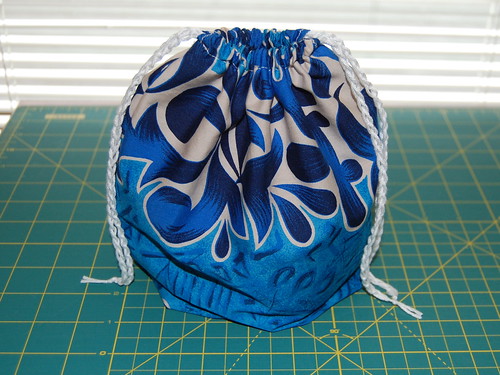
This little bag works great for corralling your yarn projects. Also doubles as re-usable gift wrap!
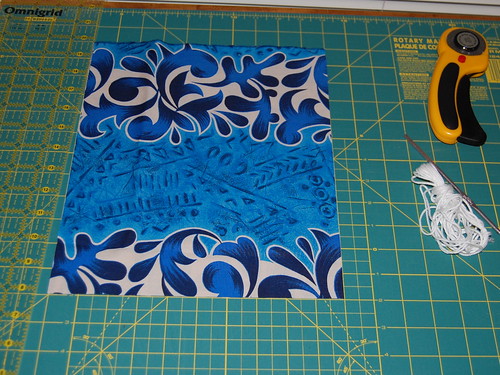
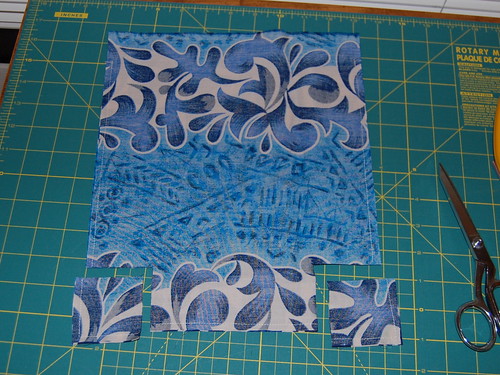
Start by cutting out 2 squarish rectangles. Exact size is unimportant, but I would suggest having the width be at least 9 inches. For this example, my rectangles are 10"x12":
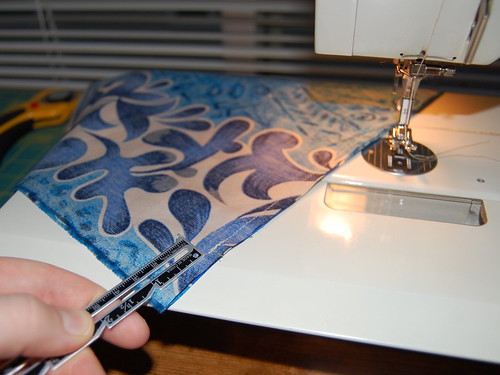
With right sides together, sew along 3 sides--two long sides and one short side--stopping 1 1/4" from top of each long side and back-stitching to reinforce (1/4" seam allowance):
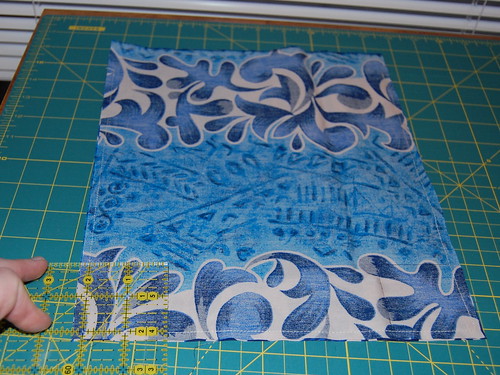
Mark off then cut out 2" squares at the lower corners of the bag (this is how we create the box bottom):
Pinch the front and back of the bag apart from each other, opening up the holes at the corners. Taking care to line up the seam lines, pin these openings then sew
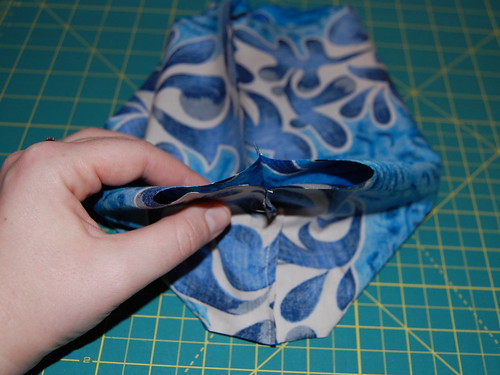
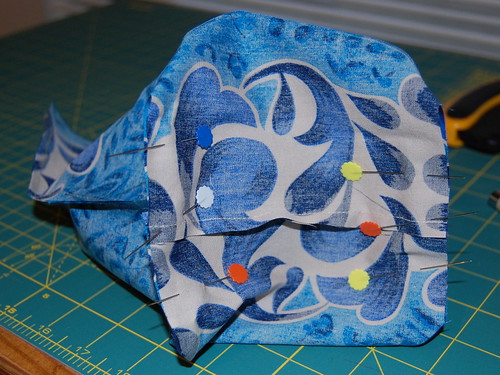
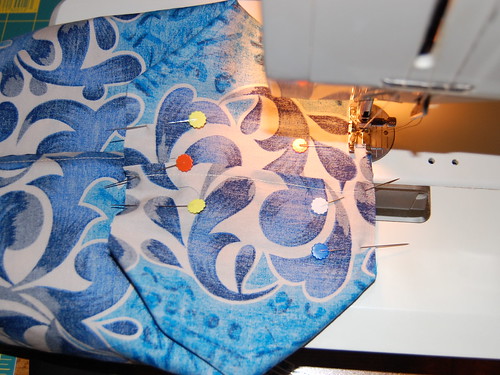
And voila, we have our box bottom!
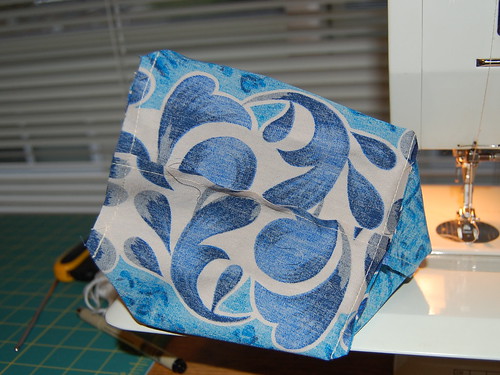
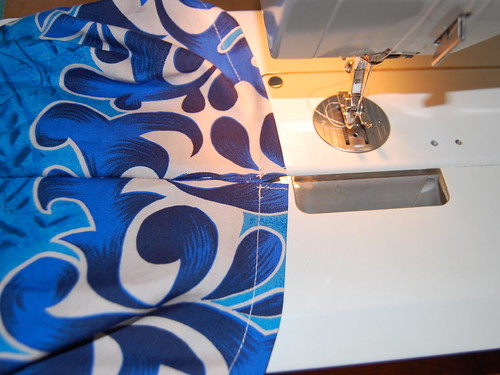
Now it's time to address the top of the bag, where the drawstrings will happen. For neat drawstring openings, press open then stitch the seam-allowance area at the top of the bag:
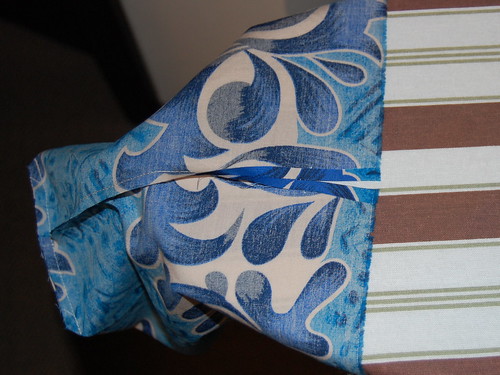
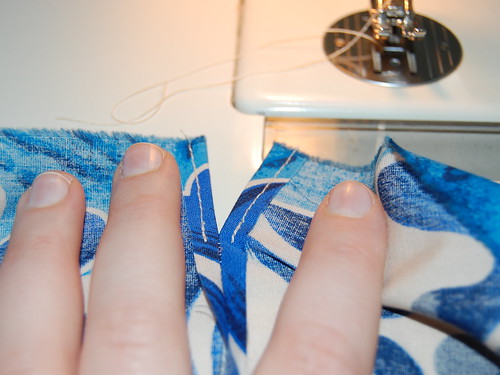
To create the drawstring channel, fold down and press the top of the bag a little more than 1/2" then stitch a little less than 1/2" from the folded edge:
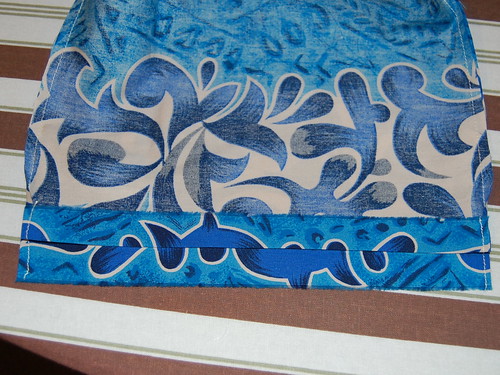
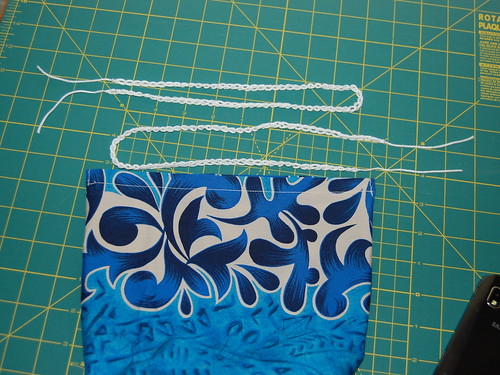
Ok, put away your sewing machine! All that's left is the drawstring. I find that a simple crocheted chain works great. To make your bag easy to cinch up, you'll want two chains, each twice as long as the bag is wide. Smooth cotton yarn works great for this. Alternately, you could simply use ribbon, shoe laces or some other cord.
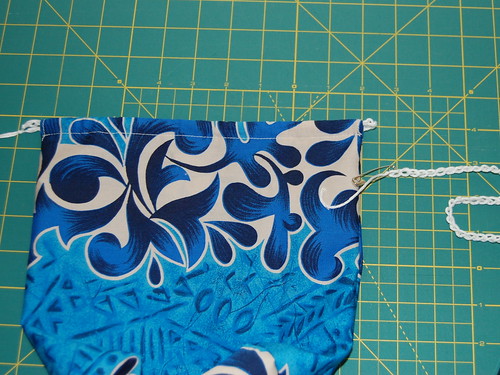
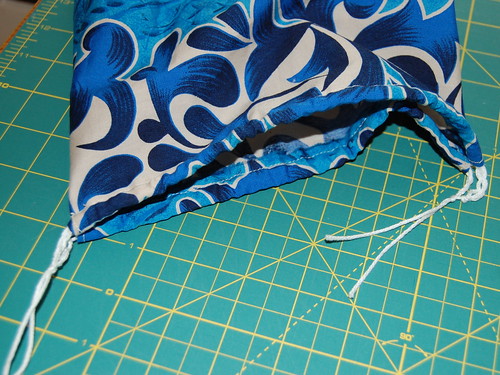
Insert the drawstrings through each side the top channel, one at a time (safety pin works great for this), in such a way that the ends of one string are both on the right and the ends of the other are both on the left. Knot the ends of the string together to secure then trim. Add project and cinch up!

No comments:
Post a Comment