
In traditional patchwork quilts, you often quilt along in a straight line for quite a while and will likely need to add a new piece of thread before you reach the end of your line. In this project, I'm in the reverse situation: quilting many short segments that would require knotting off my thread and restarting the same piece at another location. Well, I have two time-saving tips for this very situation.
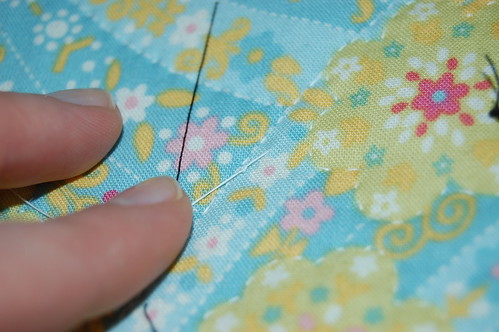
1. Whenever possible, run the thread through the inside of the quilt from one line of quilting to another. You see here I've reached a break in the dashed line I've been quilting:
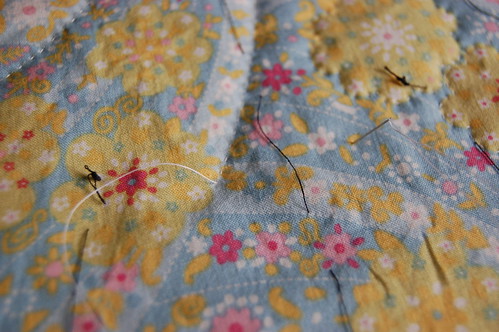
What I'm going to do is insert the needle through the top layer of fabric, making sure not to pierce the backing, then poke it back up where I want to continue quilting. The result:
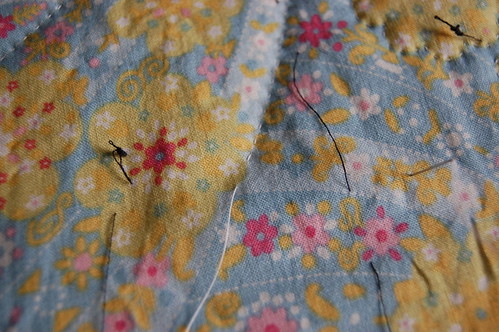
Another example. I've been working my way around the green flower on the right and I come to a point that's near another green flower.
So I insert the needle on the border of the right flower and poke it up on the border of the left flower:

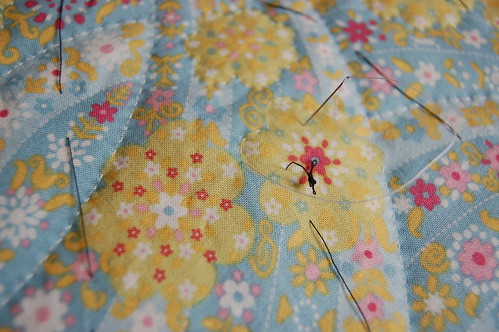
I quilting all the way around the flower on the left then it's time to resume quilting the right flower.
Since I take care to make sure each line of quilted stitches remains lined up appropriately, no one will ever be able to tell that I took a little detour from one flower to quilt another. I try to use this method of going from one line of quilting to another in any situation where the two quilting lines are close enough to be reached by my short little quilting needle (so, about less than 1" apart, or so).
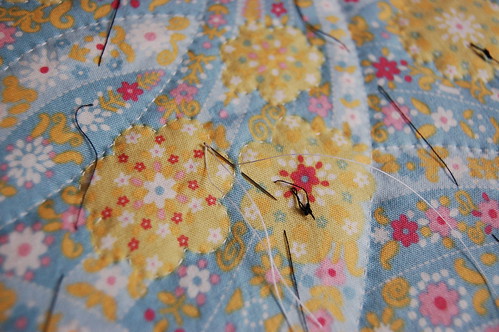
2. When tip #1 isn't going to work for you and you must break your thread to move another location, you can save a bit by tying the knot for your new location before cutting the thread.
In more detail: You come to the end of your line of quilting. Tie a knot and bury it inside the quilt (similar to when you start a line of quilting, always hide the knot in the middle of the quilt sandwich). Once you've pulled your thread back up, make a little knot near the surface of the quilt (about less 1/8-1/4" away), then clip the thread at the surface of the quilt.
Hope these tips are helpful. Also, in case this is in fact your first experience hand-quilting, don't be surprised if your right thumb and left middle finger (or whichever finger you're using underneath the quilt to guide the needle) are a tad bit sore. All those tiny needle pricks will develop into a kind of callus. And if you happen to prick yourself deep enough to bleed (been there!), saliva will get blood out of fabric (don't worry, you'll have a chance to wash all your spit out of the quilt when we're all done here). Cheers!
No comments:
Post a Comment