

Important things to have: A quilting hoop (I got a cheap one from JoAnns), quilting needles (shorter and smaller than regular needles), hand quilting thread (this stuff is tougher and slightly thicker than regular all-purpose thread), a thimble (I use this metal one, the only kind I've ever used--but there is a world of different thimbles out there). Handy things to have: little grippers (those red things, designated for machine quilting, they help you pull the tiny needle through the quilt), a small pair of sharp scissors (not pictured).
Place your hoop! Lay your quilt sandwich on a flat surface and slide the inside part of the hoop (the smaller of the two pieces) underneath the quilt. You want it near the middle. The place the outside part of the hoop on top. Before you slide it down, straighten out your quit top as much as you can, so that once you slide the larger part of the hoop down and tighten the wing nut, you'll have a smooth working surface.

You want your fabric to be relatively taut, but not excessively so.
Start quilting! Cut a length of thread about 18" long--if you make it too long, it's more likely to get tangled up. Tie a small knot in one end.
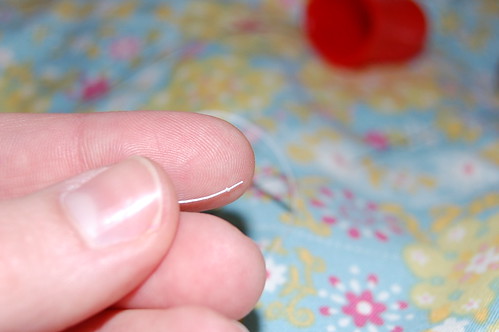
You want the knot to be small enough to pop under the top layer of fabric when you start, but not so small that it pops back up when you go to make stitches. Here's a nifty video about burying your knot.
If you haven't done so already, it's time to decide what pattern you're going to stitch. For my fabric, I've decided to quilt around each small green flower and along some of the dashed lines.
I prefer to quilt with the needle coming toward my body. I use the thimble on my middle finger, right hand to push the needle while my right thumb serves as a guide. With the gripper on my right pointer, it's easy to pull the needle out after making a few small stitches.
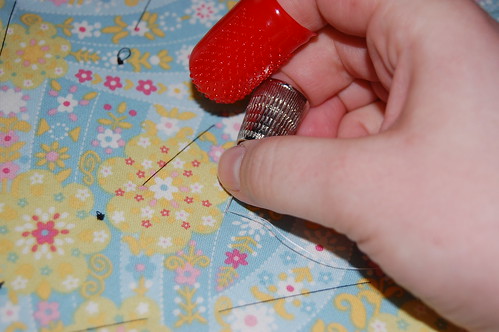
As with basting, it's important to make sure your stitches go through all 3 layers of the quilt. I use my left middle finger underneath the quilt to feel for the tip of the needle. When I feel the tip of the needle, I rock the needle back up to the surface with the thimble. After completing my first dashed line, this is what the back of the project looked like:
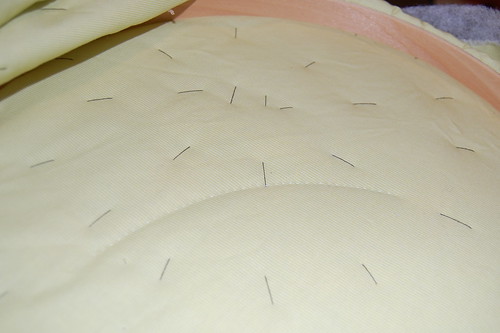
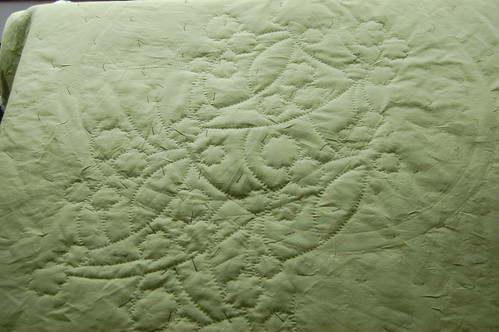
Fast forward a week, and this is where I'm at:
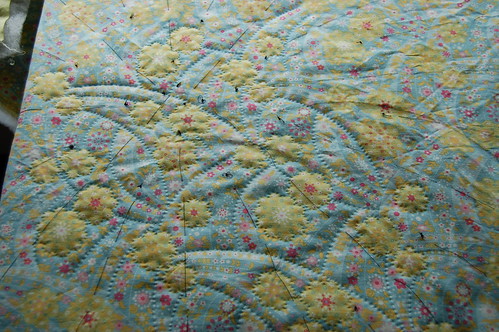
Quilting around the little green flowers is a bit slow going. All those little curves make it impossible for me to do more than 2 stitches at once. :-P
On the back, you can see the design created by the stitching a bit better. The hoop makes some wrinkles in the fabric--no biggie, just make sure to smooth out the quilt when moving from one location to another.
Next time, I'll talk about what to do when you get near the edges.
1 comment:
Love it!
Post a Comment