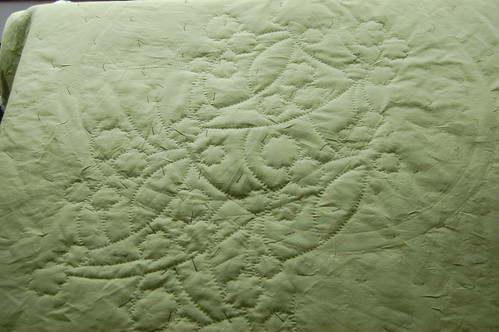
Showing posts with label handquilting. Show all posts

Tuesday, May 3, 2011

Hand quilting tips

My quilting mentor (hehe) reminded me that I would be remiss if I didn't pass along a couple time-saving tips.

In traditional patchwork quilts, you often quilt along in a straight line for quite a while and will likely need to add a new piece of thread before you reach the end of your line. In this project, I'm in the reverse situation: quilting many short segments that would require knotting off my thread and restarting the same piece at another location. Well, I have two time-saving tips for this very situation.

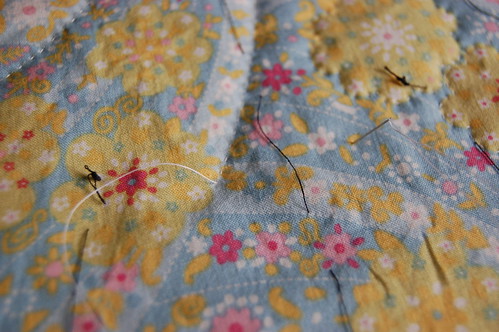
1. Whenever possible, run the thread through the inside of the quilt from one line of quilting to another. You see here I've reached a break in the dashed line I've been quilting:
Hand quilting tips

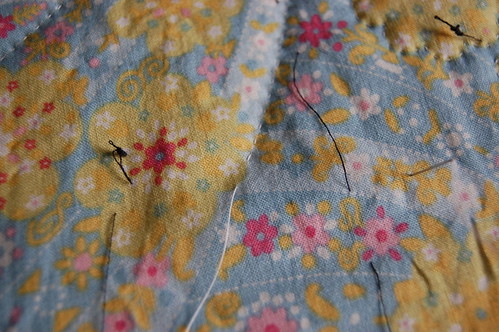
What I'm going to do is insert the needle through the top layer of fabric, making sure not to pierce the backing, then poke it back up where I want to continue quilting. The result:
Hand quilting tips

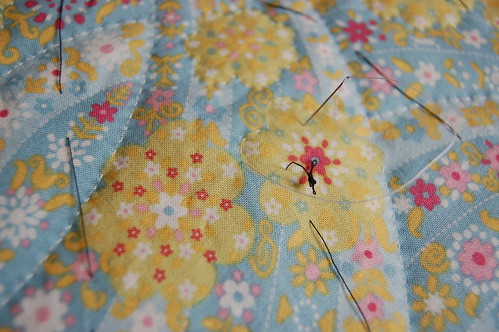
Another example. I've been working my way around the green flower on the right and I come to a point that's near another green flower.
Hand quilting tips

So I insert the needle on the border of the right flower and poke it up on the border of the left flower:
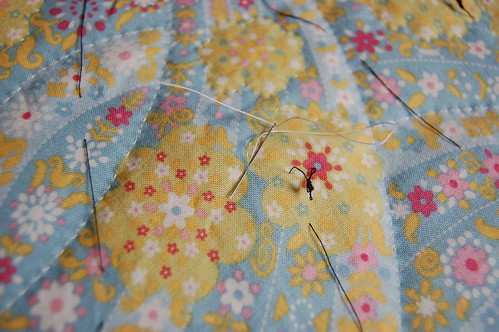
Hand quilting tips

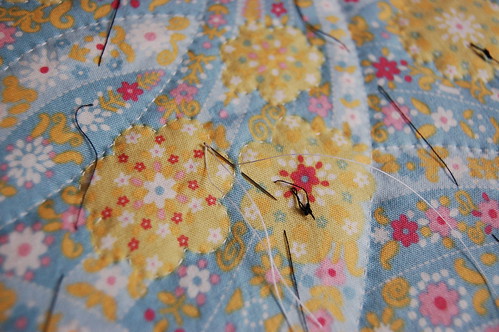
I quilting all the way around the flower on the left then it's time to resume quilting the right flower.
Hand quilting tips

Since I take care to make sure each line of quilted stitches remains lined up appropriately, no one will ever be able to tell that I took a little detour from one flower to quilt another. I try to use this method of going from one line of quilting to another in any situation where the two quilting lines are close enough to be reached by my short little quilting needle (so, about less than 1" apart, or so).

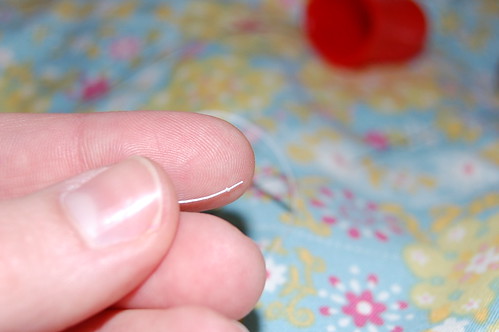
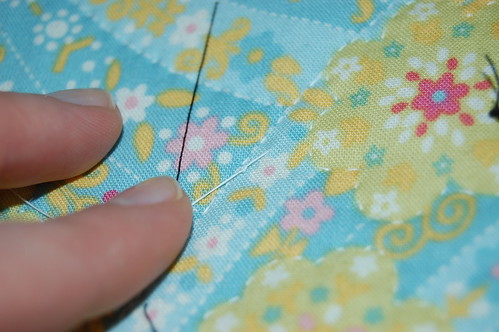
2. When tip #1 isn't going to work for you and you must break your thread to move another location, you can save a bit by tying the knot for your new location before cutting the thread.
Hand quilting tips

In more detail: You come to the end of your line of quilting. Tie a knot and bury it inside the quilt (similar to when you start a line of quilting, always hide the knot in the middle of the quilt sandwich). Once you've pulled your thread back up, make a little knot near the surface of the quilt (about less 1/8-1/4" away), then clip the thread at the surface of the quilt.

Hope these tips are helpful. Also, in case this is in fact your first experience hand-quilting, don't be surprised if your right thumb and left middle finger (or whichever finger you're using underneath the quilt to guide the needle) are a tad bit sore. All those tiny needle pricks will develop into a kind of callus. And if you happen to prick yourself deep enough to bleed (been there!), saliva will get blood out of fabric (don't worry, you'll have a chance to wash all your spit out of the quilt when we're all done here). Cheers!

Thursday, April 28, 2011

Let's start Hand-Quilting

Time to gather up some supplies.

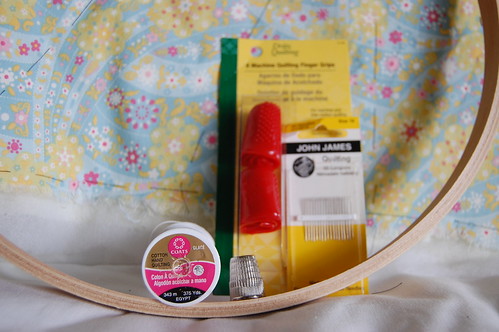
Hand quilting supplies

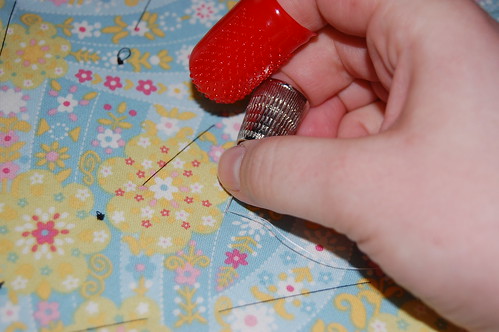
Important things to have: A quilting hoop (I got a cheap one from JoAnns), quilting needles (shorter and smaller than regular needles), hand quilting thread (this stuff is tougher and slightly thicker than regular all-purpose thread), a thimble (I use this metal one, the only kind I've ever used--but there is a world of different thimbles out there). Handy things to have: little grippers (those red things, designated for machine quilting, they help you pull the tiny needle through the quilt), a small pair of sharp scissors (not pictured).

Place your hoop!  Lay your quilt sandwich on a flat surface and slide the inside part of the hoop (the smaller of the two pieces) underneath the quilt. You want it near the middle. The place the outside part of the hoop on top. Before you slide it down, straighten out your quit top as much as you can, so that once you slide the larger part of the hoop down and tighten the wing nut, you'll have a smooth working surface.
Hoop placement

You want your fabric to be relatively taut, but not excessively so.


Start quilting! Cut a length of thread about 18" long--if you make it too long, it's more likely to get tangled up. Tie a small knot in one end.


Tiny knot

You want the knot to be small enough to pop under the top layer of fabric when you start, but not so small that it pops back up when you go to make stitches. Here's a nifty video about burying your knot.

If you haven't done so already, it's time to decide what pattern you're going to stitch. For my fabric, I've decided to quilt around each small green flower and along some of the dashed lines.

I prefer to quilt with the needle coming toward my body. I use the thimble on my middle finger, right hand to push the needle while my right thumb serves as a guide. With the gripper on my right pointer, it's easy to pull the needle out after making a few small stitches.

Holding the needle

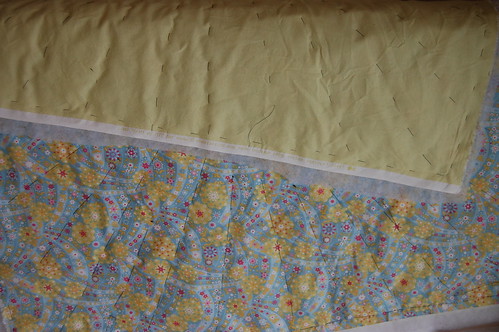
As with basting, it's important to make sure your stitches go through all 3 layers of the quilt. I use my left middle finger underneath the quilt to feel for the tip of the needle. When I feel the tip of the needle, I rock the needle back up to the surface with the thimble. After completing my first dashed line, this is what the back of the project looked like:

Underside

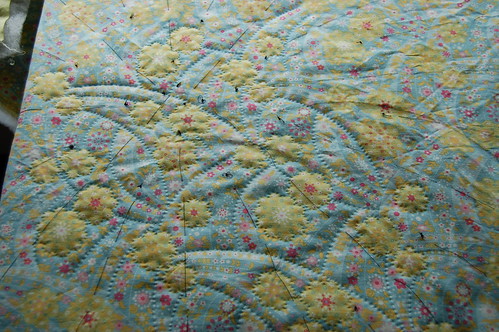
Fast forward a week, and this is where I'm at:

Hand quilting - 1 week

Quilting around the little green flowers is a bit slow going. All those little curves make it impossible for me to do more than 2 stitches at once. :-P

On the back, you can see the design created by the stitching a bit better. The hoop makes some wrinkles in the fabric--no biggie, just make sure to smooth out the quilt when moving from one location to another.

Hand quilting - 1 week, back

Next time, I'll talk about what to do when you get near the edges.

Wednesday, April 20, 2011

Come Hand-Quilt Along with Me!


Inspired by the long-delayed arrival of spring, I started a new project today—a small handquilted blanket. I thought I would share the project step-by-step. Maybe it will serve as a bit of inspiration for those of you that haven’t tried hand-quilting yet.
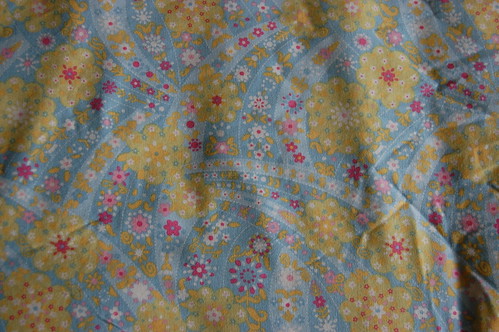
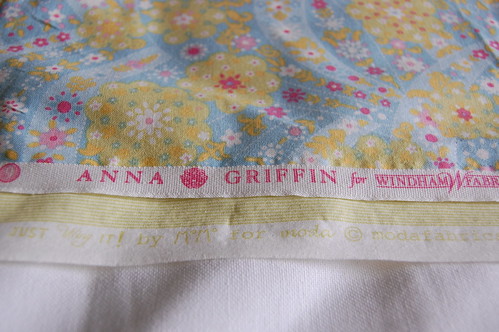
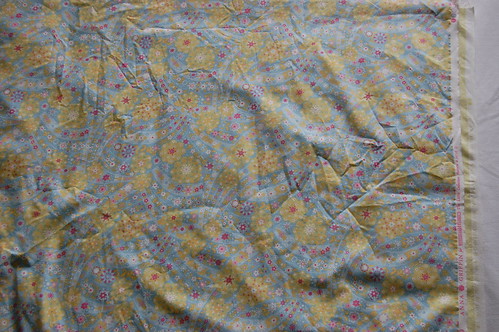
Step 1: Fabric choice. For this project, I wanted to use a single piece of fabric with an interesting pattern that I could quilt. This project from Last Minute Quilted and Patchwork Gifts was in my mind as I was looking at fabrics, but I didn’t find anything like that. Instead, I chose this fabric from Anna Griffin for Windham:
Fabric Choice
For the back, I found a very-faintly-striped light green that matches nicely. It’s from Just Wing It! by MoMo for Moda.
Fabric Choice
It’s important to note that both of these are quilter’s cotton. I don’t think I’ve ever used anything other than cotton for quilting, though you could experiment with that if you want to. For this project, I purchased 1 yard of each fabric.
Step 2: Wash your fabric. I was taught to always wash cotton before starting a project because it is likely to shrink. I find it best to simply wash the fabric as soon as it comes home with me. I use pinking shears on the non-selvedge edges to (try to) prevent a big tangle of strings on the edge of the fabric.
After a trip through the washer and drier, iron the fabric. If you pull it out of the drier when it’s still a tiny bit damp, you’ll get super-crisp fabric. If, however, you leave your fabric to dry completely then cool off in the drier while you go out to dinner, still do your best to get out as many wrinkles as you can, but don’t stress too much about it--mine was still pretty wrinkly.
Ironing
Step 3: Make a sandwich. Start by laying the backing fabric on the floor, RIGHT SIDE DOWN. Next, take your batting (that’s the fluffy stuff that goes in the middle) and lay it on top of your backing. I’m using this cheap-o low-loft synthetic stuff I had in the closet. Different types of batting will give different results—you can study up on this before deciding what kind you want to use. Or just buy this cheap stuff; I think I got it from JoAnns. It’s definitely mediocre, but whatever.
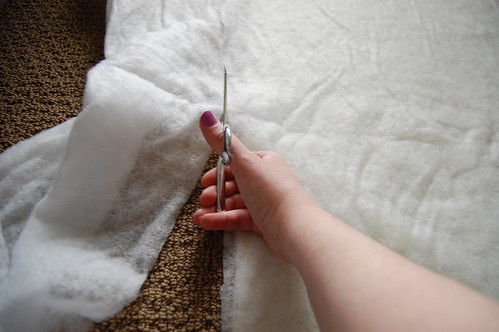
Because my batting was in a larger roll, I had to trim it to the proper size. To do this, I lined up one corner a little bit outside of the backing fabric, so that the batting extends beyond the backing, then I trimmed around the other sides so it’s about ½-1 inch bigger all around than the backing.
Trim the batting
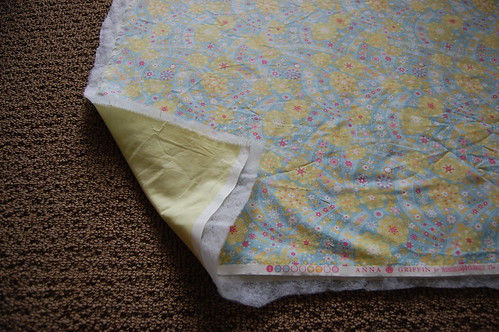
After the batting is in place, position your front piece of fabric RIGHT SIDE UP. Since both of my fabric pieces are about the same size, I took care to make sure that the top piece lined up nicely over the bottom piece.
Just to summarize, you should have your backing piece FACE DOWN, then your batting, then your front piece FACE UP.
Quilt sandwich
Step 4: Basting. Once your sandwich is carefully arranged, you want it to stay that way, right? So now you baste. For handquilting, I was taught to baste with all-purpose thread in long running stitches. When the quilting is done, you remove the basting stitches (with a great flourish of accomplishment as you marvel at all your handquilting).
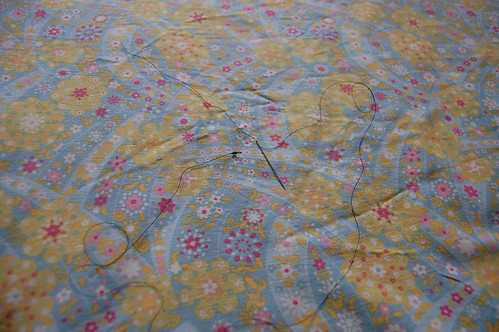
To baste this quilt, I chose to use black thread, mostly because I have a lot of it. It will also be helpful to use a thread color that contrasts with the thread color you use for quilting, I think. I used a regular needle for my basting because this is the way I was taught, but I’ve seen other people using curved needles. Those remind me too much of fish hooks—I’ll stick to basic straight needles. Cut a long piece of thread—about a yard or so—and tie a big knot in one end. I do this by wrapping the thread twice around my right pointer finger, pushing with my thumb as I roll my finger down and then using my middle finger nail to tighten the knot. (Lookee! I found a video of how to do it.)
Basting 1
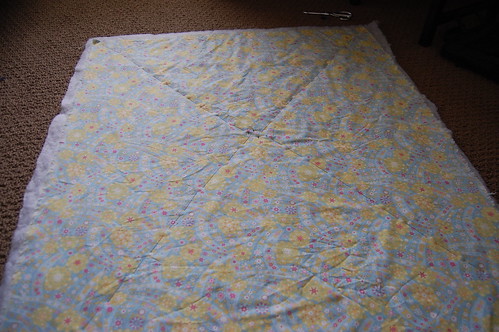
Starting from the center of the piece, work long running stitches out to one corner. Make sure that your stitches are catching all three layers of your quilt (but try not to sew your sandwich to the carpet). When you finish the first line, reknot your thread and start again from the center toward the opposite corner. Work from center to the other two corners.
Basting 2
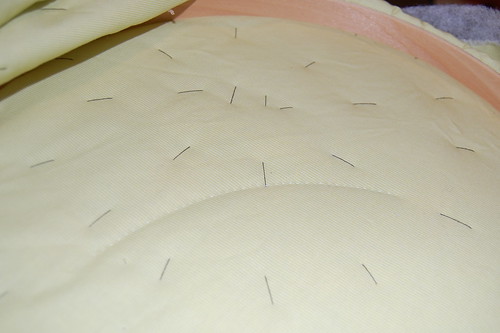
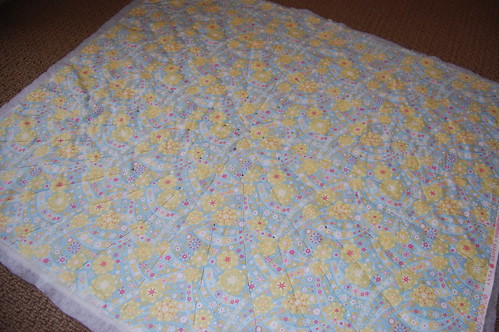
Work basting stitches from center out to the middle of each edge. Continue adding lines radiating out from the center. I ended up working 16 wedges in each quadrant of the quilt. I was aiming to have no more than 3 inches between lines, but I just eye-balled it—no need to get out a ruler for this. I finished my basting by running a line around the perimeter.
Basting 3
Basting 4
Next time, I’ll talk about the actual quilting, so check back soon!